Quick Start: Build Your First Horda Backend#
This tutorial shows you how to build and deploy a fully persistent, real-time counter app with Horda. You’ll create a backend that maintains counter state and a Flutter app that displays and updates it in real-time.
Prerequisites:
- VSCode installed
- Flutter SDK installed and configured
- Basic knowledge of Dart and Flutter
What you’ll build: A simple counter app where multiple users can increment a shared counter, with all changes syncing in real-time across all connected devices.
Part 1: Backend Development#
1. Create Your Backend Project#
# Create a new Dart package for your backend
dart create -t package counter_backend
cd counter_backend
2. Add Dependencies#
# Add Horda Server SDK
dart pub add horda_server

# Add Horda Local Emulator as a dev dependency
dart pub add dev:horda_local_host
Your pubspec.yaml file should look like this:
name: counter_backend
description: A starting point for Dart libraries or applications.
version: 1.0.0

environment:
  sdk: ^3.9.2

dependencies:
  horda_server: ^0.16.0

dev_dependencies:
  horda_local_host: ^0.2.0
  lints: ^6.0.0
  test: ^1.25.6
Install dependencies:
dart pub get3. Define Messages#
Horda backends are message driven. That means that in order to request something to happen you need to send a command message. Once the command message has been handled it produces an event message.
Messages must be able to serialize and deserialize from JSON. Let’s define your first messages.
Create file lib/src/messages.dart and add this code to it.
import 'package:horda_server/horda_server.dart';

class IncrementCounter extends RemoteCommand {
  IncrementCounter();

  factory IncrementCounter.fromJson(Map<String, dynamic> json) =>
      IncrementCounter();

  @override
  Map<String, dynamic> toJson() => {};
}

class CounterIncremented extends RemoteEvent {
  CounterIncremented();

  factory CounterIncremented.fromJson(Map<String, dynamic> json) =>
      CounterIncremented();

  @override
  Map<String, dynamic> toJson() => {};
}
We send IncrementCounter to Counter entity to request the increment and as a result
the entity produces CounterIncremented event. You’ll see the entity code soon.
4. Create Entity#
Entity represents a business concept in your app’s domain, like User, Order, BlogPost, etc. Entity is a stateful object meaning it auto-persists its state, so you don’t need to use any database at all. In order to request an entity to do some work you send it a command, and if the command is handled without errors the entity produces an event.
Let’s define our first Counter entity with one command handler and an empty entity state class. Create file lib/src/counter.dart and add the following code to it.
import 'package:horda_server/horda_server.dart';
import 'messages.dart';

class CounterEntity extends Entity<CounterState> {
  @override
  CounterState? get singleton => CounterState();

  Future<RemoteEvent> increment(
    IncrementCounter command,
    CounterState state,
    EntityContext context,
  ) async {
    // no business logic for now
    return CounterIncremented();
  }

  @override
  void initHandlers(EntityHandlers<CounterState> handlers) {
    handlers.add(increment, IncrementCounter.fromJson);
  }

  @override
  void initMigrations(EntityStateMigrations migrations) {}
}

// state is empty for now
class CounterState extends EntityState {
  CounterState();

  factory CounterState.fromJson(Map<String, dynamic> json) => CounterState();

  @override
  Map<String, dynamic> toJson() => {};

  @override
  void project(RemoteEvent event) {}
}
Now we have a Counter entity that always increments the singleton counter no matter what. We will add some business logic and state to it later on.
5. Create View#
While entity state is private to the entity and cannot be seen from the outside, entity views are public to the outside world and can be queried by client applications.
Let’s define the counter value as its public view. Add the following code to the lib/src/entity.dart file:
class CounterViewGroup extends EntityViewGroup {
  // sets view's name and default value to 10
  final valueView = CounterView(name: 'value', value: 10);

  void incremented(CounterIncremented event) {
    // increment value every time the entity produces CounterIncremented event
    valueView.increment(1);
  }

  @override
  void initViews(ViewGroup views) {
    views.add(valueView);
  }

  @override
  void initProjectors(EntityViewGroupProjectors projectors) {
    projectors.add<CounterIncremented>(incremented);
  }
}
6. Create Process#
Business processes are triggered by a client app and orchestrate multiple entities and services to fulfill a client request. They get all necessary data from the client and return a result to the client once finished.
First add a new IncrementCounterRequested event that is sent by the client to lib/src/messages.dart.
class IncrementCounterRequested extends RemoteEvent {
  IncrementCounterRequested();

  factory IncrementCounterRequested.fromJson(Map<String, dynamic> json) =>
      IncrementCounterRequested();

  @override
  Map<String, dynamic> toJson() => {};
}
import 'package:horda_server/horda_server.dart';
import 'messages.dart';
class CounterProcess extends Process {
Future<FlowResult> increment(
IncrementCounterRequested event,
ProcessContext context,
) async {
// send increment command to the global Counter entity
// and await for an entity resulting event gets returned
await context.callEntity<CounterIncremented>(
name: 'CounterEntity',
id: kSingletonId,
cmd: IncrementCounter(),
fac: CounterIncremented.fromJson,
);
return FlowResult.ok(null);
}
@override
void initHandlers(ProcessHandlers handlers) {
handlers.add<IncrementCounterRequested>(
increment,
IncrementCounterRequested.fromJson,
);
}
}7. Run it in Horda Local Emulator#
Edit your lib/counter_backend.dart file to look like this:
library;

export 'src/counter.dart';
export 'src/messages.dart';
export 'src/process.dart';
In order to run the backend we need to generate the main.dart file. Run this command to do it:
dart run build_runner buildNow run your backend with Horda Local Emulator:
dart bin/main.dartYou should see this in the command line output:
Local host launched!Finally your backend is up and running and it is time to connect your Flutter app to it.
Part 2: Client Development#
1. Create Flutter App#
Let’s create an initial Flutter app:
flutter create counter_app
cd counter_app
Let’s add Horda Client SDK and counter_backend dependencies. Edit your pubspec.yaml to look like this:
dependencies:
  flutter:
    sdk: flutter
  horda_client: ^0.22.0
  counter_backend:
    path: ../counter_backend  # Path to your backend package
Install dependencies:
flutter pub get2. Setup Connection#
First we have to set up a connection to our counter backend running in the local emulator.
Replace the main function with the code below:
import 'package:horda_client/horda_client.dart';

void main() {
  final url = 'ws://localhost:8080/client';
  // final url = 'ws://10.0.2.2:8080/client'; // for Android emulator

  final system = HordaClientSystem(url: url, apiKey: '');
  system.start();

  runApp(HordaSystemProvider(system: system, child: const MyApp()));
}
2. Query Entity View#
Let’s create a Horda query class to query the counter value from the global Counter entity on the backend.
Add this code to the end of the lib/main.dart file:
class CounterQuery extends EntityQuery {
  final counterValue = EntityCounterView('value');

  @override
  String get entityName => 'CounterEntity';

  @override
  void initViews(EntityQueryGroup views) {
    views.add(counterValue);
  }
}
Let’s put this query into the widget tree and run it. Replace _MyHomePageState.build() with the code below:
  @override
  Widget build(BuildContext context) {
    return Scaffold(
      appBar: AppBar(
        backgroundColor: Theme.of(context).colorScheme.inversePrimary,
        title: Text(widget.title),
      ),
      body: context.entityQuery( // <--- mounts and runs backend query
        entityId: 'singleton',   // <--- entity id we want to run query on
        query: CounterQuery(),   // <--- query definition
        child: Center(
          child: Column(
            mainAxisAlignment: MainAxisAlignment.center,
            children: <Widget>[
              const Text('You have pushed the button this many times:'),
              Text(
                '$_counter',
                style: Theme.of(context).textTheme.headlineMedium,
              ),
            ],
          ),
        ),
      ),
      floatingActionButton: FloatingActionButton(
        onPressed: _incrementCounter,
        tooltip: 'Increment',
        child: const Icon(Icons.add),
      ), // This trailing comma makes auto-formatting nicer for build methods.
    );
  }
The last step is to grab the counter value from the query and show it on the screen.
Replace the Text widget code with the code below:
Builder(
  // wrap into new context to be able to find the query class
  builder: (context) {
    return Text(
      // get counter value view defined in the query class
      context
          .query<CounterQuery>()
          .counter((q) => q.counterValue)
          .toString(),
      style: Theme.of(context).textTheme.headlineMedium,
    );
  },
),
Run the app in a simulator and make sure you see 10 as the counter value.
3. Trigger Process#
Let’s trigger the increment business process when the user taps on the + button in the app.
First add this import at the top of the main.dart file:
import 'package:counter_backend/counter_backend.dart';Then replace the _incrementCounter() function of the _MyHomePageState class with the code below:
void _incrementCounter() {
  final system = HordaSystemProvider.of(context);
  system.dispatchEvent(IncrementCounterRequested());
}
Now restart the app and tap on the + button. You should see the counter value get incremented.
Run the app on a second simulator and see the counter value get updated in both apps in real-time.
Part 3: Publish to Horda Platform#
This tutorial will guide you through deploying your Horda backend to the cloud platform and connecting your Flutter app to it.
Step 1: Sign Up for Horda Account#
- Navigate to console.horda.dev
- Click Sign Up and create your account
- Verify your email address
Step 2: Create a New Project#
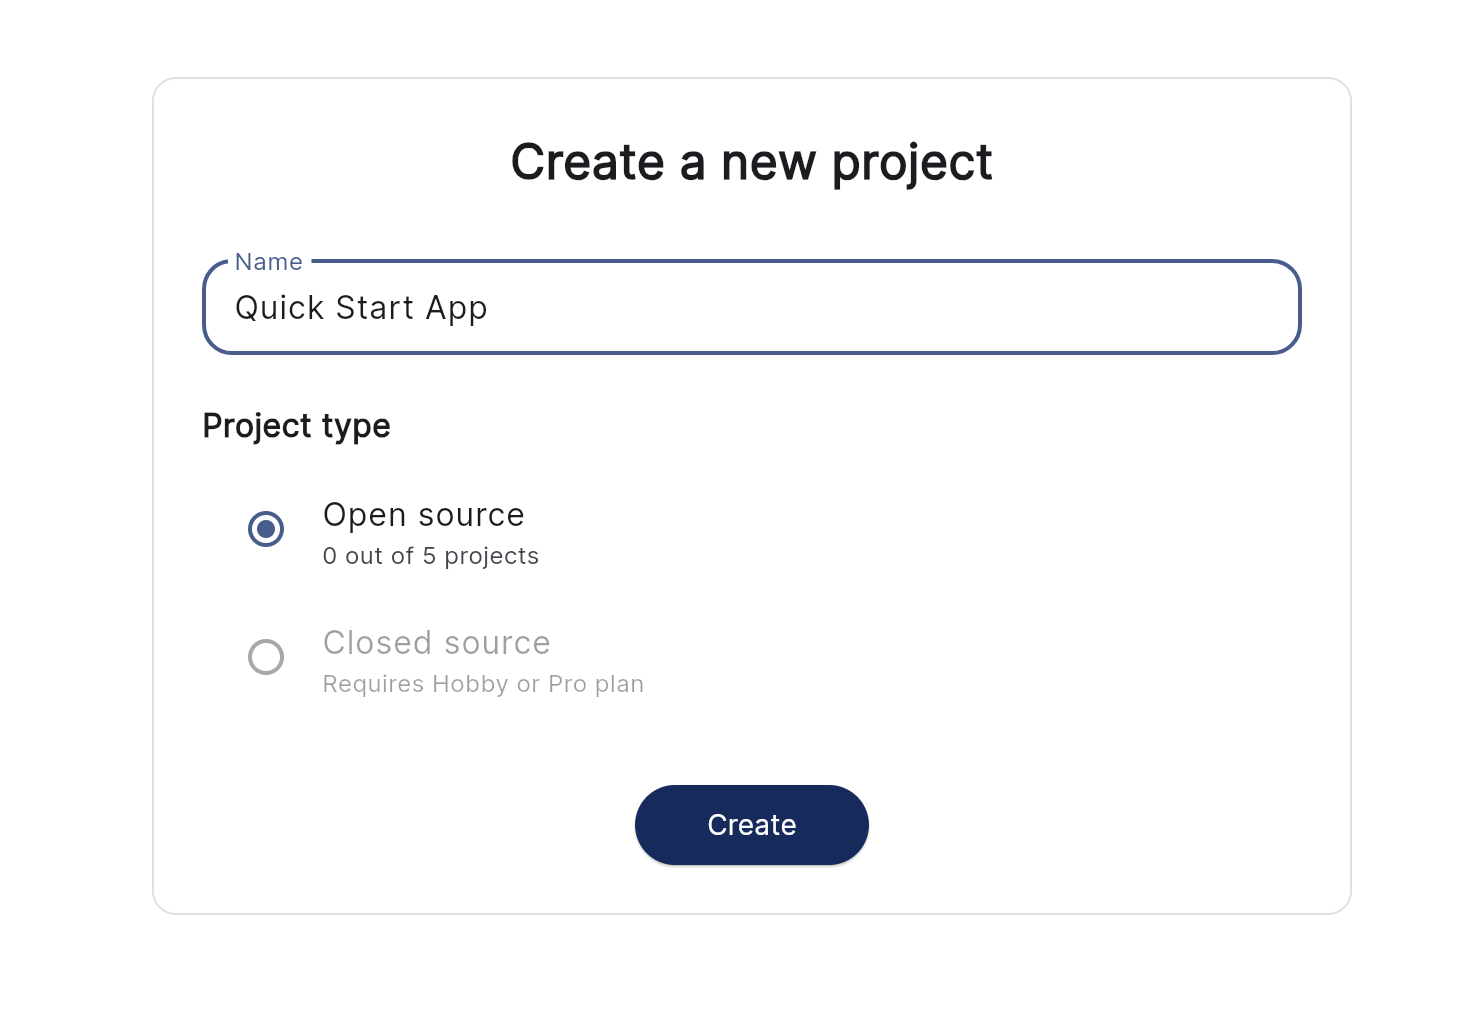
- In the Horda Console, click Create Project
- Enter your project name (e.g., “counter-app”)
- Select Open Sourced option
- Click Create
Step 3: Publish Backend#
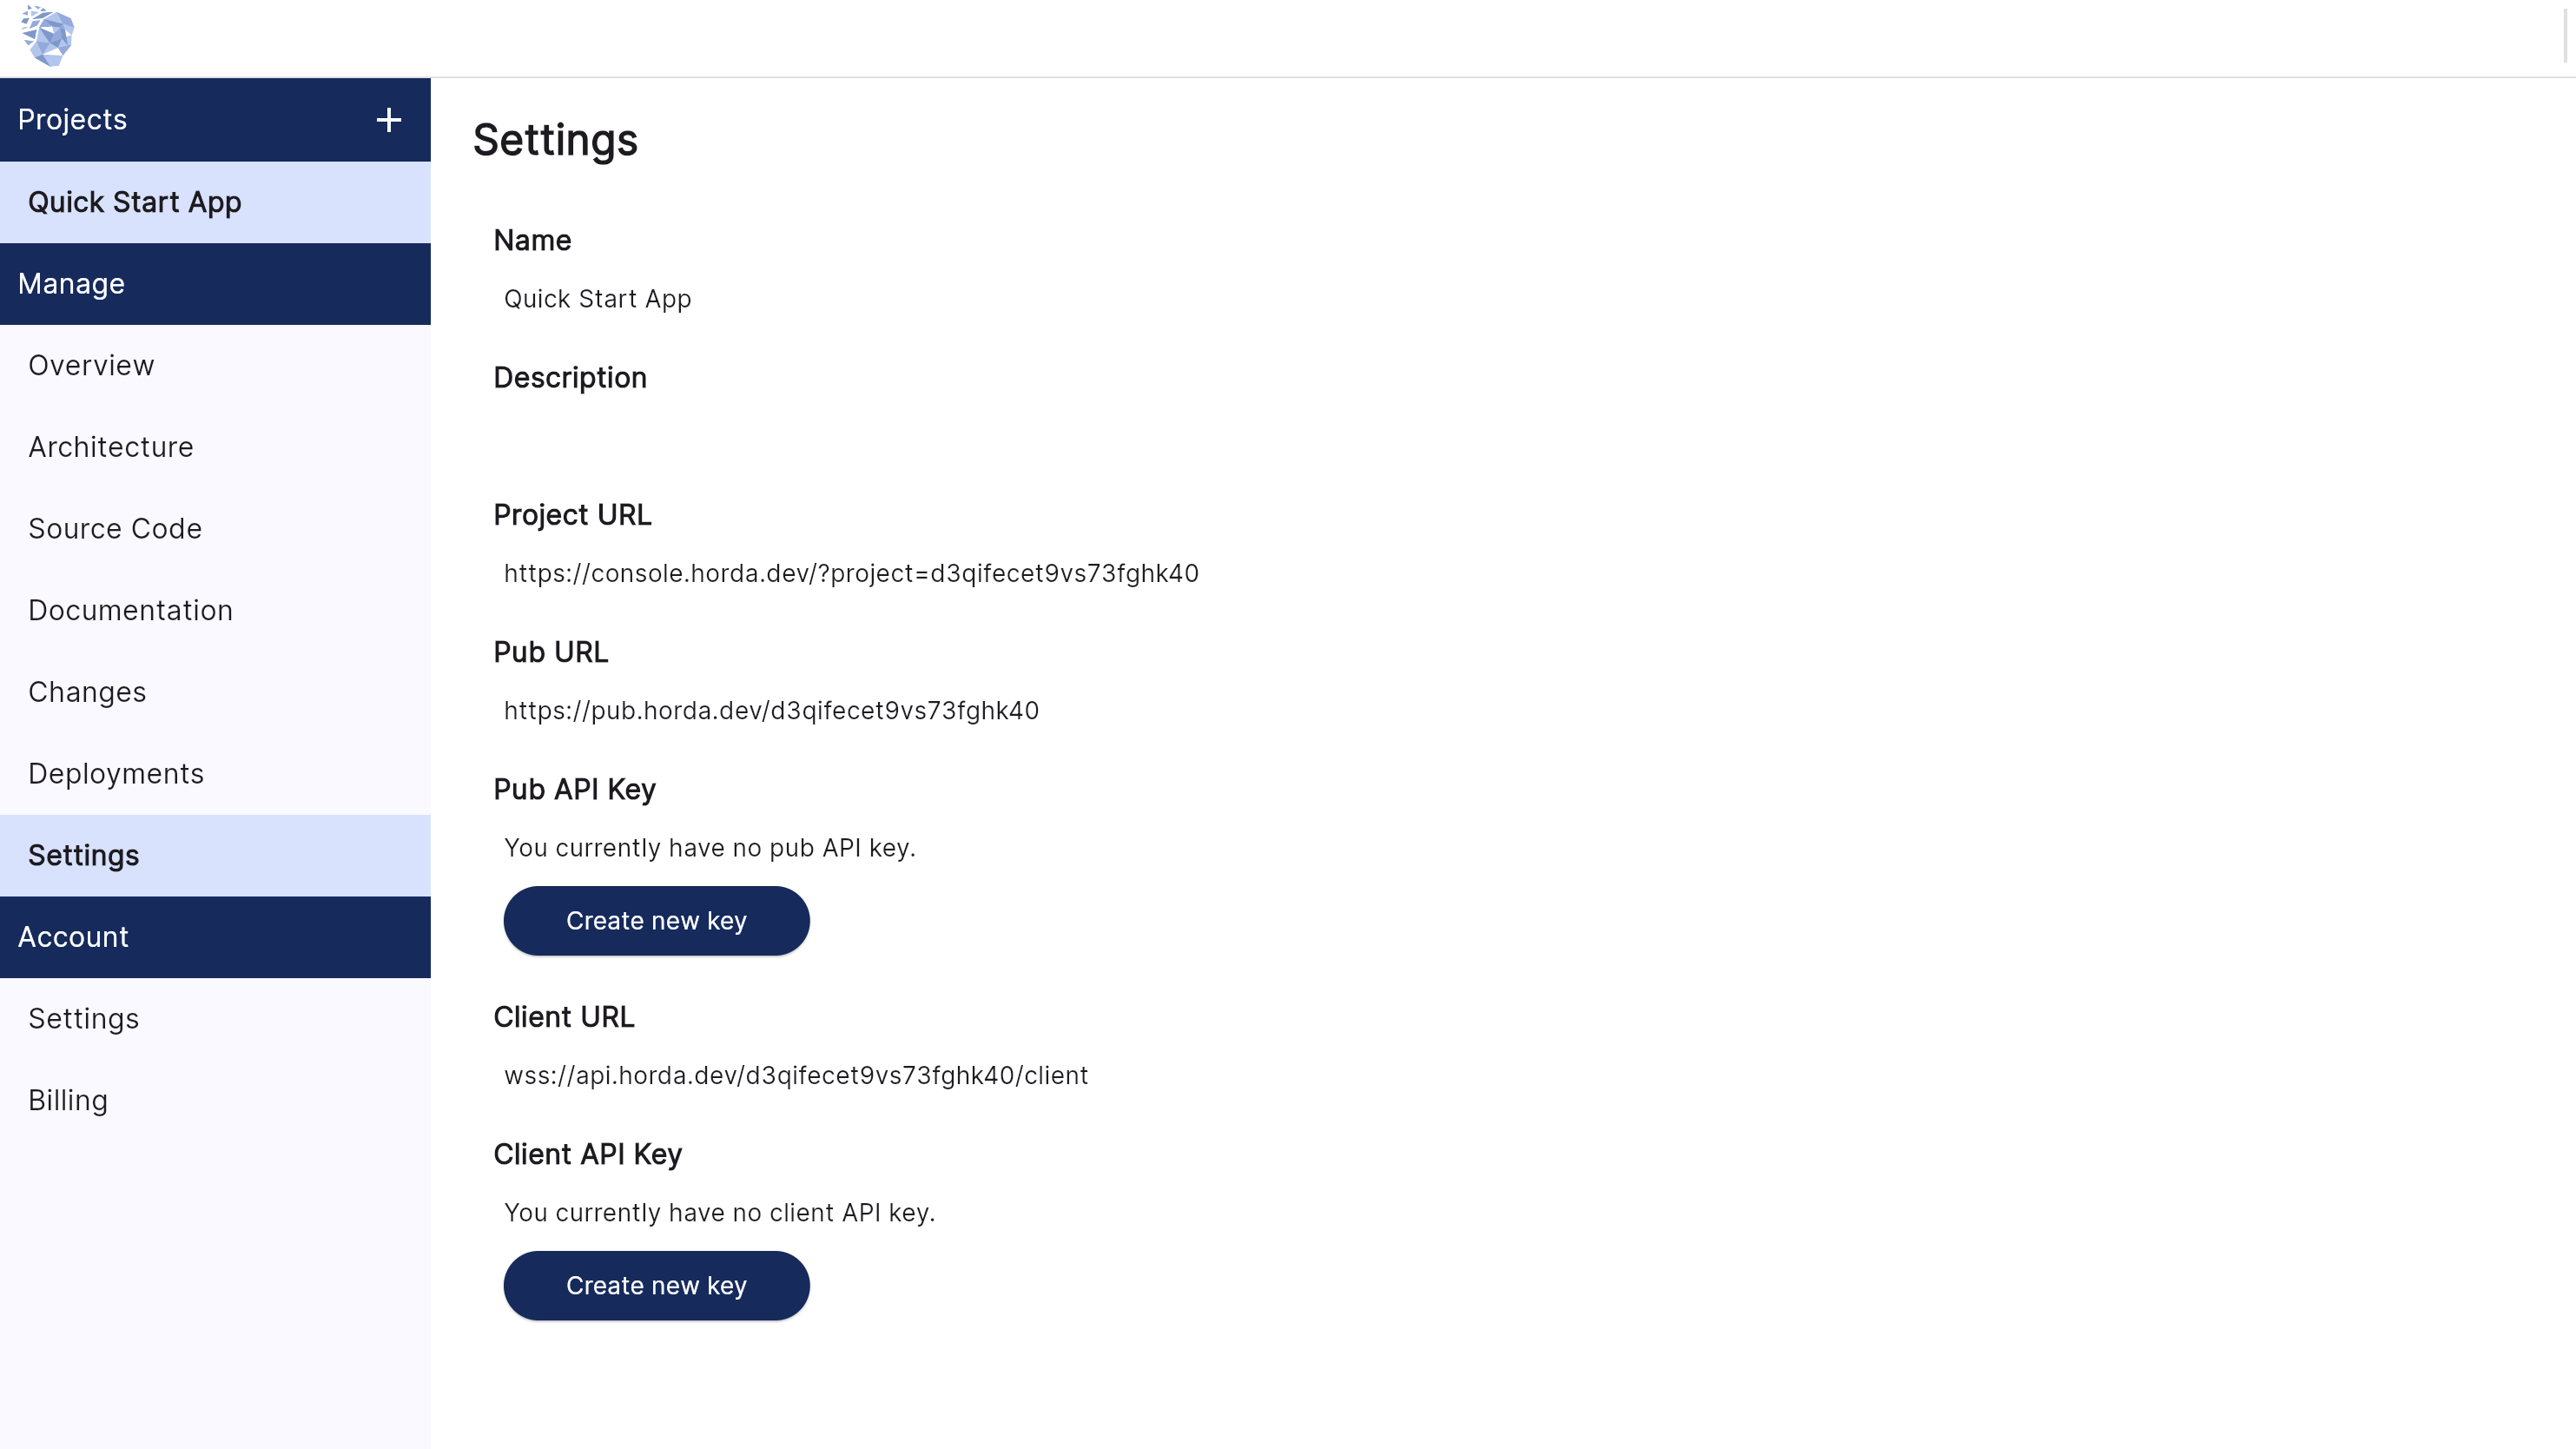
- In your project dashboard, navigate to Settings screen
- Click on the Create button below Pub API Key
- Copy the generated Pub API Key you see at the bottom of the screen
- Configure your local Dart pub credentials:
# Add Horda's package repository
dart pub token add https://pub.horda.dev
When prompted, paste your Pub API Key
Navigate to your backend package directory
Add
publish_to: https://pub.horda.devto thepubspec.yamllike below:
name: counter_backend
description: A super simple counter app backend.
version: 1.0.0
publish_to: https://pub.horda.dev- Publish the package:
dart pub publish- Confirm the publication when prompted
Step 4: Deploy Backend#
- Return to the Horda Console
- Your published package should appear in the Packages section
- Click the Deploy button next to your package
- Select the version to deploy (usually latest)
- Click Confirm Deployment
Wait for the deployment status to show Active (typically takes 30-60 seconds).
Step 5: Configure Flutter App#
- In the Horda Console, go to project Settings
- Copy the Project ID and Client API Key
- Update your Flutter app’s connection configuration:
// lib/main.dart
import 'package:horda_client/horda_client.dart';

void main() {
  // Replace with your project ID and API key
  final projectId = 'your-project-id'; // Found in console URL
  final apiKey = 'your-client-api-key'; // Your Client API Key

  // Production WebSocket URL
  final url = 'wss://api.horda.ai/$projectId/client';

  // Configure connection
  final system = HordaClientSystem(url: url, apiKey: apiKey);
  system.start();

  runApp(HordaSystemProvider(
    system: system,
    child: MyApp(),
  ));
}
Step 7: Test Deployed Backend#
Run your Flutter app and check that you see counter value equal to 10.
Click on the + button and make sure the counter value gets incremented on every click.
Congratulations! Your Horda backend is now live and serving your Flutter app in production.
Next Steps#
- Look at much more complex Counter Example code that demonstrates business logic, services and multiple business processes.
- Look at full featured Twitter Clone backend and client source code to learn how to write complex backends.
- Start building your ambitious Flutter app with complex, persistent, real-time backend today.